 |
 |
 |
|||||||||||||
Rear Caliper Restoration |
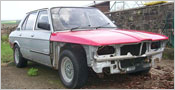
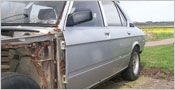
Now that Project M is away at the shotblasters I thought it might be good to get on with another part. And I thought that the rear calipers would be as good a place as any |
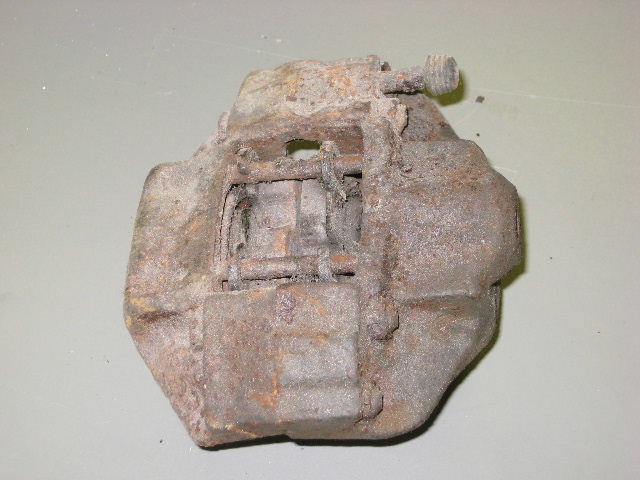
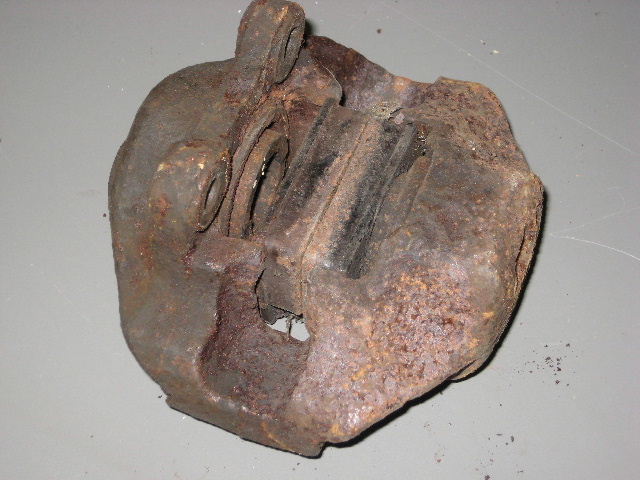
As you can see these are very rusty indeed, I actually have some better ones, but wanted to practice on these ones as it would not matter if it all went wrong. It would be best if you get a caliper from an old car because they are cheaper for practising but also try to get the same type of caliper as well. |
 |
|
 |
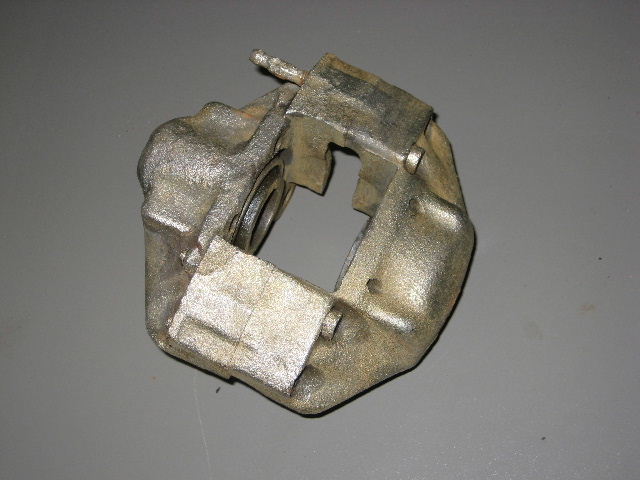
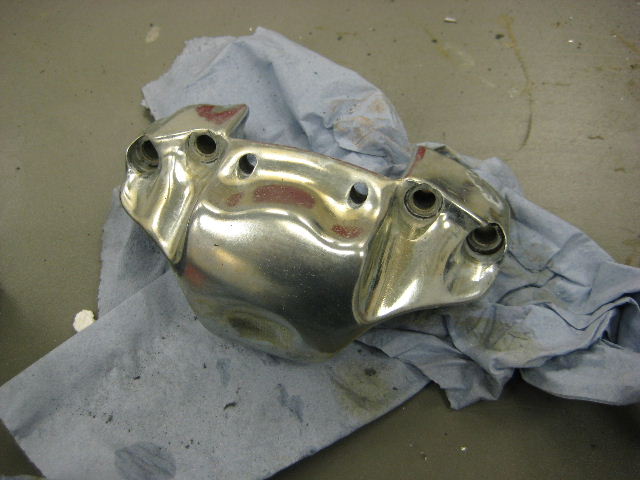
After a soak in the Deox C solution, and a quick wire brush after 24 hours, and then again after 48 hours this is the cleaned up caliper, the yellow colour is rust starting to form almost straight away |
 |
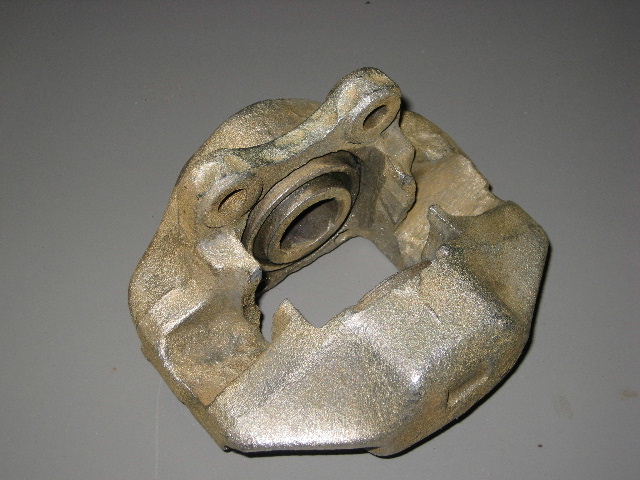 |
Compare the cleaned one with the uncleaned |
 |
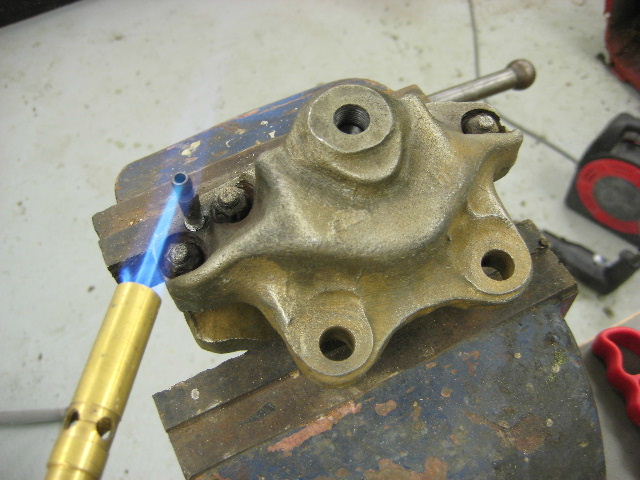
I was not sure if I would be able to get the bleed nipple out so thought it best to try this now before any further work was carried out, as if it had snapped there would be no point in going on any further. I heated it up with a very small flame from a blow lamp, and I think this combined with the soaking in the Deox C solution did the trick as within 5 minutes it came out no problem |
 |
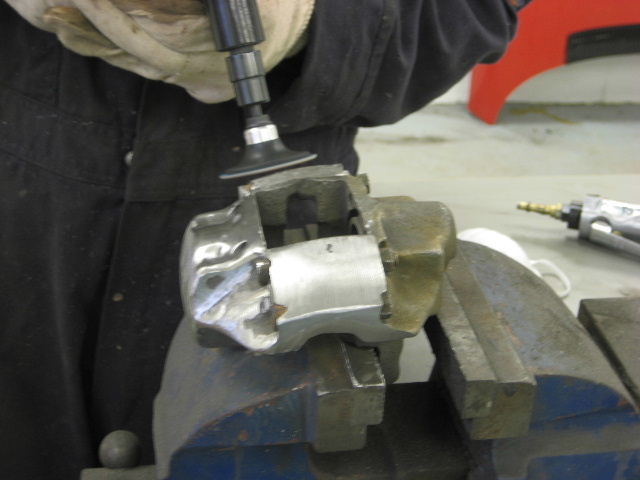
I then removed the pistons and seals as I wanted to try to clean the metal surface finish up as I wanted to try some home Electro plating, even if this did not work, then the smoother finish would be better for painting. I first started with a small air operated grinder with an 80 grit Roloc disc fitted, this started the smoothing process. |
 |
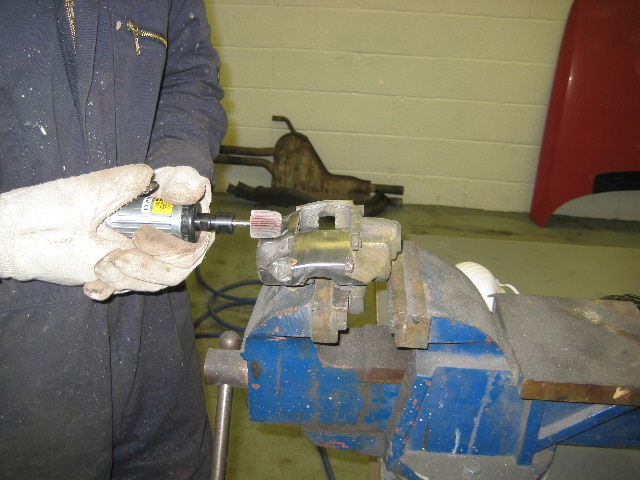
Then a change to a die grinder fitted with a 100 grit flap wheel, to smooth things out even more, and get into those harder to reach spots. |
 |
|
 |
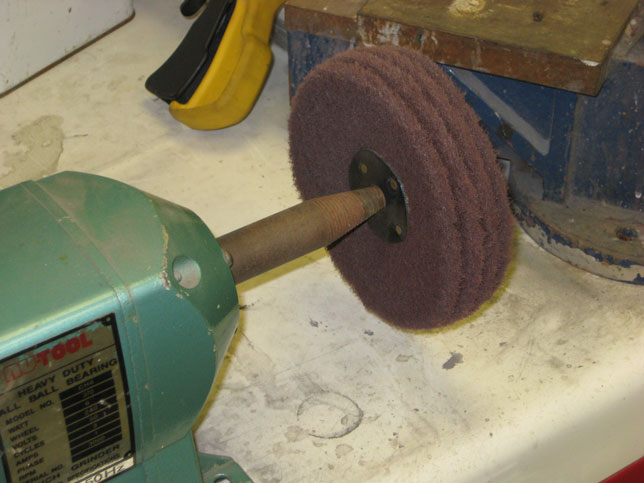
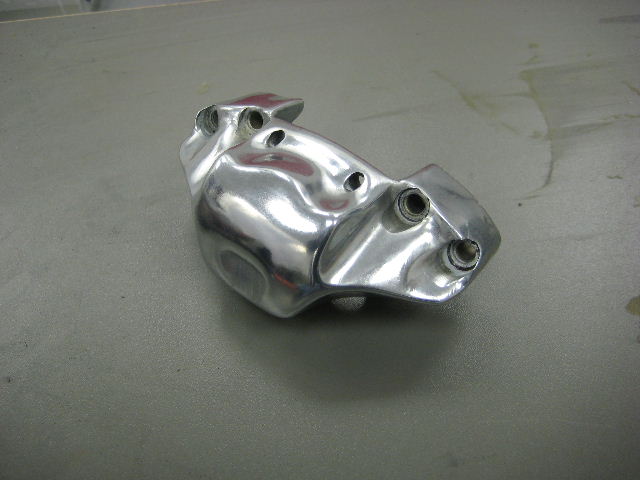
Then a quick buff with the scotchbrite buff in my bench grinder. |
 |
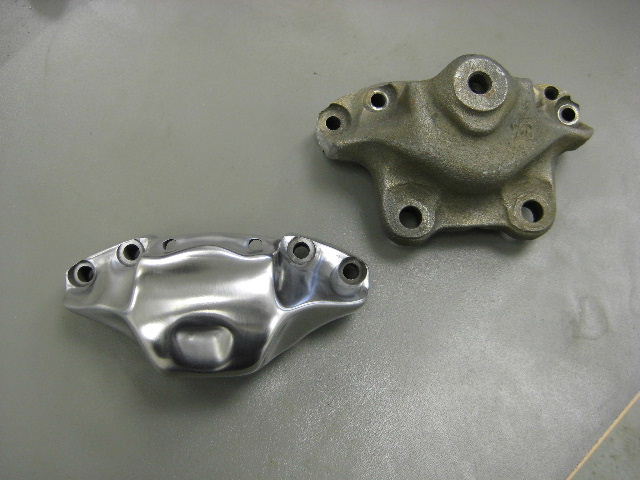
and this is the finished result |
 |
Not a bad result for about one hours work sanding and buffing |
 |
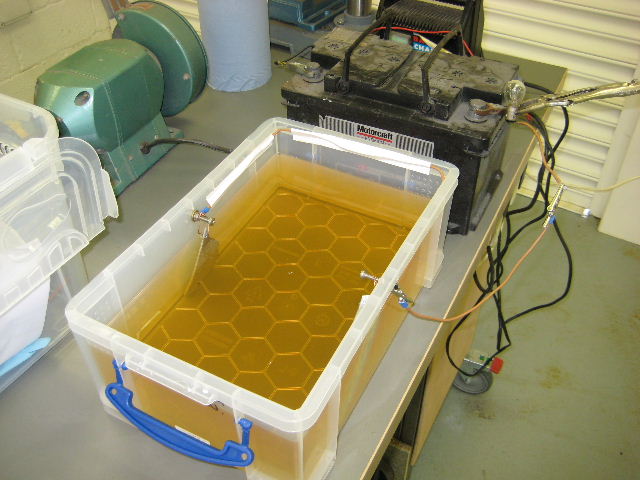
I had often seen articles about home electro plating and wondered how successful it might be, I saw a cheap kit advertised on Ebay and decided to give it a go. The plastic storage boxes I bought separately, there are several different chemicals involved, and they have to be mixed and used correctly, it was all a bit daunting at first, but if you follow the instructions it did make sense. The kit I bought was a zinc plating kit, with a yellow and clear passivate addition This is the zinc plating setup, the power supply you use is a normal car battery, then some bulbs are wired in series to drop the voltage to the required range, you check this with a voltmeter, it is a bit makeshift, but I guess one of the reasons why it was cheaper, if the results are successful then I can always purchase a proper power supply later. |
 |
But first you have to pickle the part, this is done in a brick cleaner acid (not supplied with the kit) available from most DIY stores, you leave it in here for 5 minutes |
 |
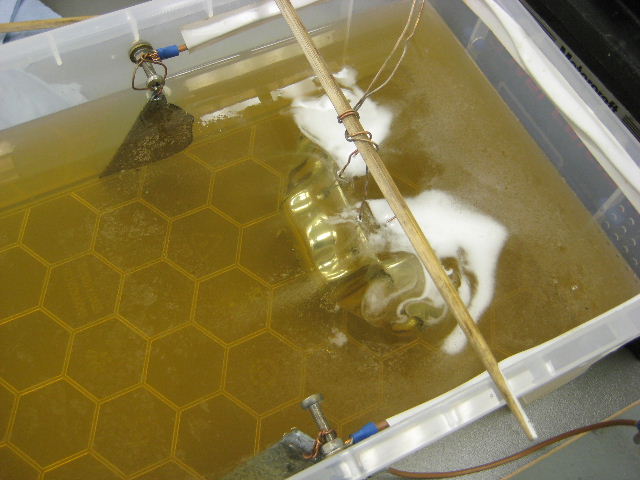
Then after a quick rinse, it is into the plating solution, with the part connected by wire to the -ve terminal on the battery and the zinc anodes with the bulb in line, connected to the +ve terminal, it has to stay in here for 30 - 50 minutes. |
 |
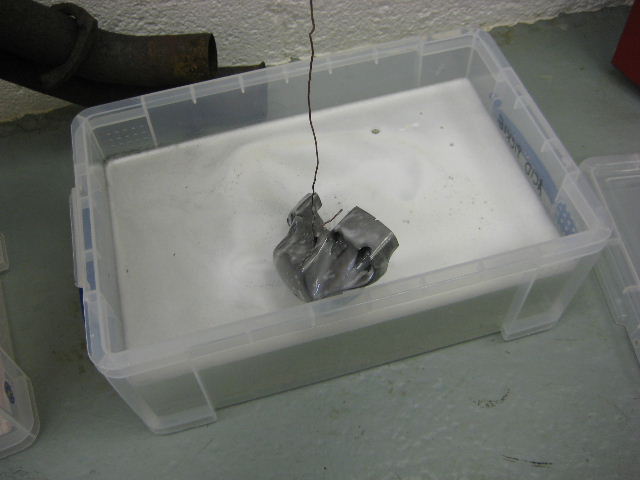
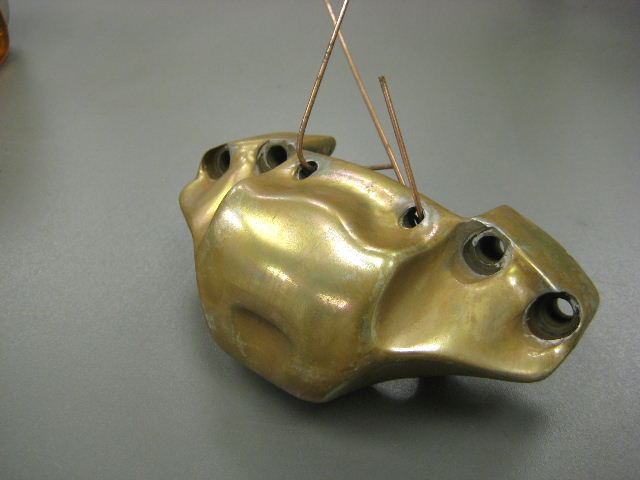
This is the part being lifted out after 50 minutes, you then have to rinse again in cold water |
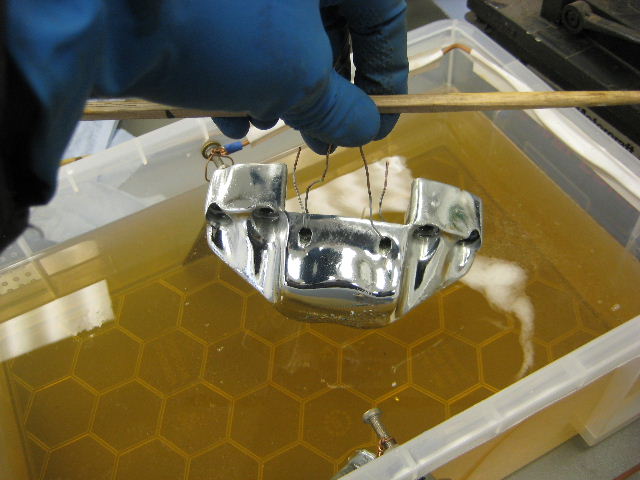 |
Here the part is coated in Zinc, there is however poor coverage to some of the area around the bolt holes and further inside the piston housing area, after reading several forums, it seems to suggest that using a fish tank aerator to agitate to the solution will help get a more even coverage. |
 |
I then polished the part, using a chrome cleaner, on a cloth and rubbing with just finger pressure, the finish is very shiny and almost like chrome, but be careful not to polish through. I don't know how resilient the finish would be if it was left like this, I guess if you were doing engine bay parts you could easily clear lacquer over it to ensure that the shine is long lasting |
 |
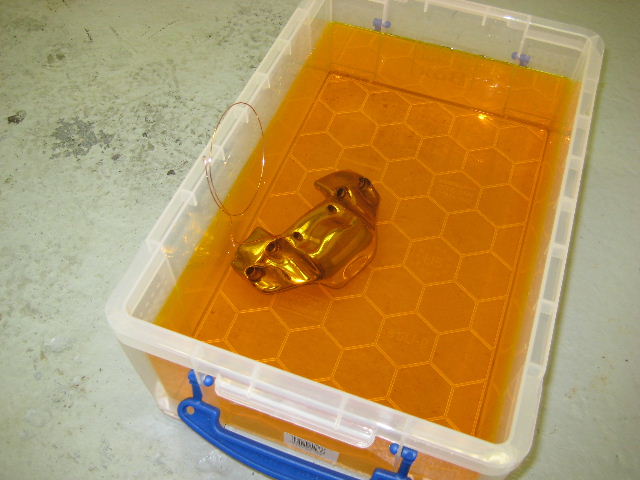
It is then into the yellow passivate, it only needs to be in here for 20 -50 seconds, I left mine in for 50 seconds. |
| then you rinse again and dry with a hairdryer and the leave to dry, The photo below is not the first attempt I made, infact the first attempt turned out really well, but I discovered when handling it that the yellow can be easily rubbed off, the photo below is after about the 4th attempt, and no matter what I did I could not get a good and even coverage again. |
 |
I have now had the opportunity to read about this on a couple of electroplating forums and getting the yellow passivate to form an even and long lasting finish seems to be a bit of a black art. Apparently clear passivating it first then yellow and then leave for 48 hours seems to be the suggested option, but I have a feeling that nothing will ever be as tough as long lasting as a professional plating service, I believe that this may be down to the chemicals available to the home user, but still as I said earlier, if you were to clear lacquer onto this it could certainly look authentic. Just need to practice more on several other parts and see what happens, but I have to say if you read some of the forums, there seem to be so many variables that can affect the process that it is any wonder that I got any sort of results at all Still it is a huge improvement over the original caliper |
|
| Back to Index |