 |
 |
 |
|||||||||||||
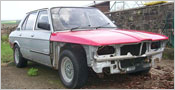
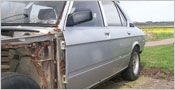
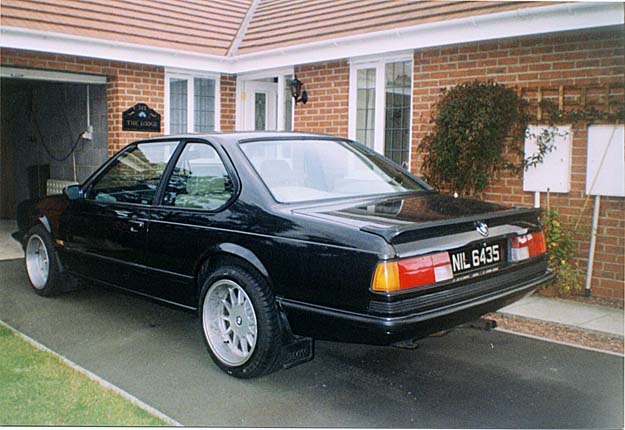
Neil's 6 Series Restoration
Car: BMW E24 635i |
History: |
Thoughts: |
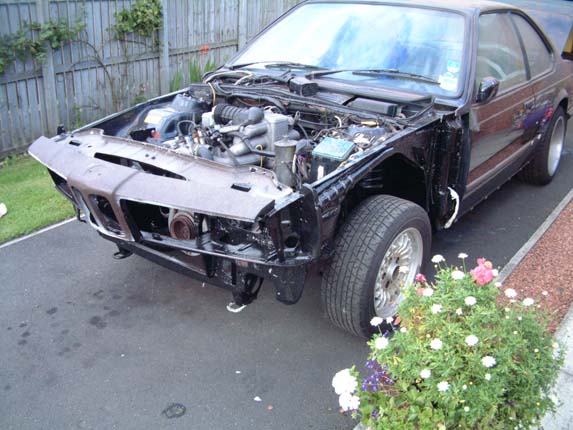
This photo was taken about 2001 |
 |
May 6th 2003 |
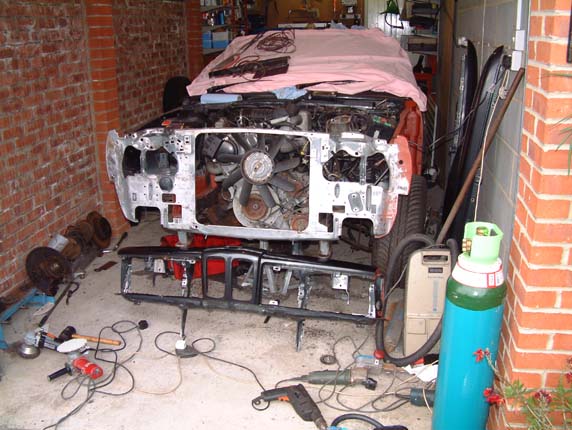 |
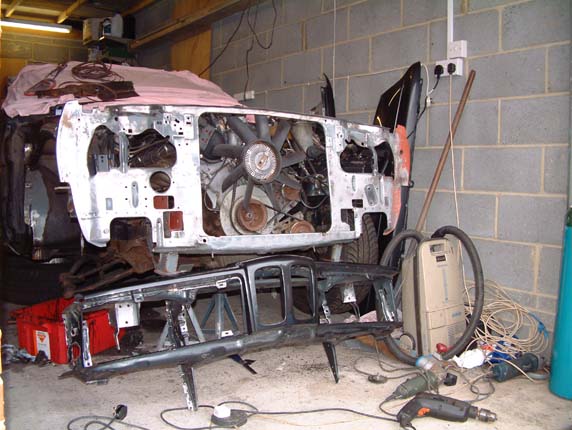
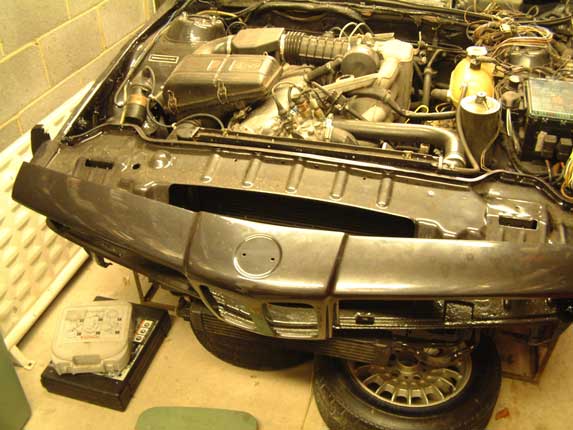
The Front panel was stripped to bare metal and various repairs carried out and ground smooth |
 |
6th August 2005 |
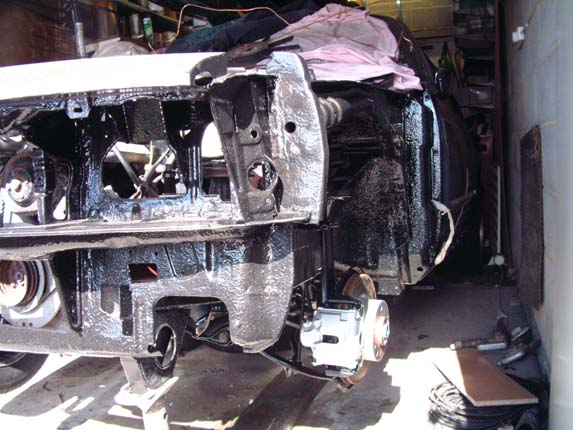 |
In the meantime the suspension had been stripped and powder coated and here it is all back together |
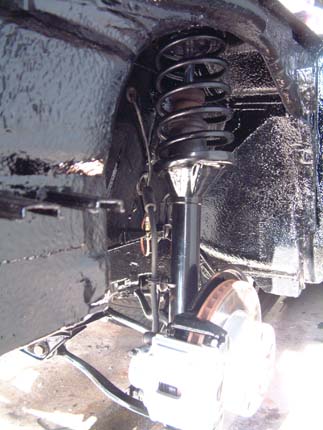 |
Subframe and anti roll bars were also powder coated |
 |
6th August 2005 |
 |
Front end now totally rust free |
 |
11th January 2007 |
|
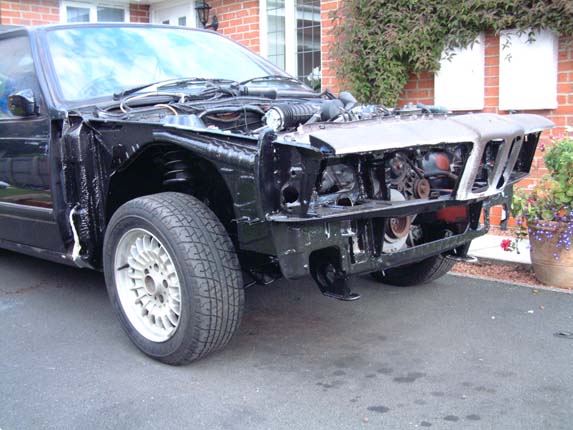
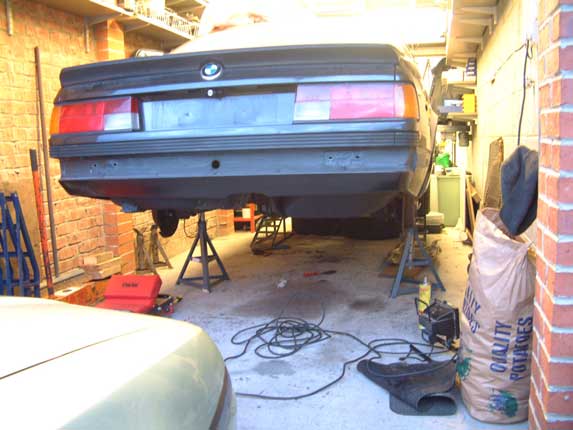
Painted front end now parked nose into the garage |
 |
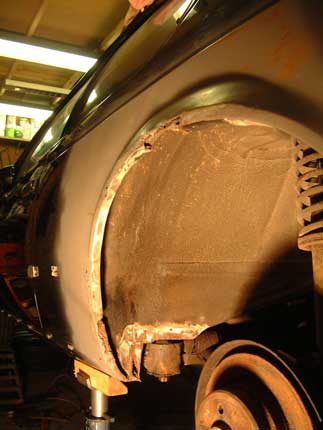
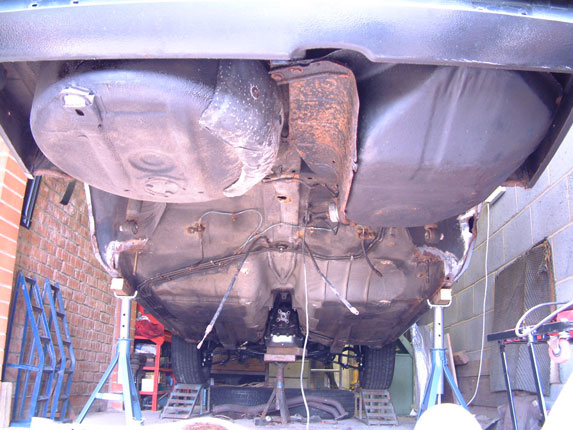
Up on Axle stands starting to strip the rear end |
 |
|
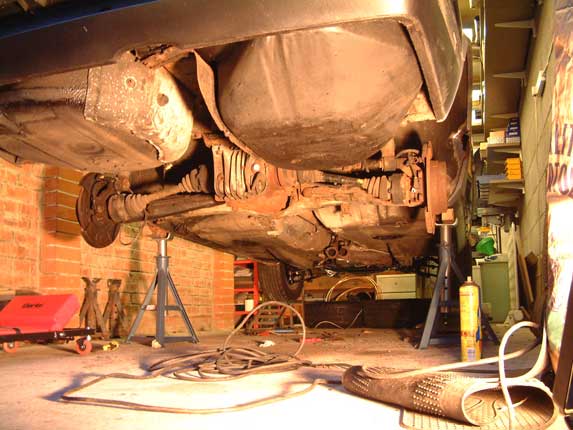 |
Note hole to inner arch about 10 " up from axle stand |
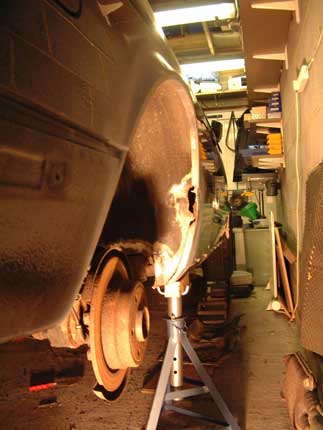 |
Other side is much worse, this is what lay under the filler, will need repair around sub frame mounting |
 |
| Date 11th May 2007 |
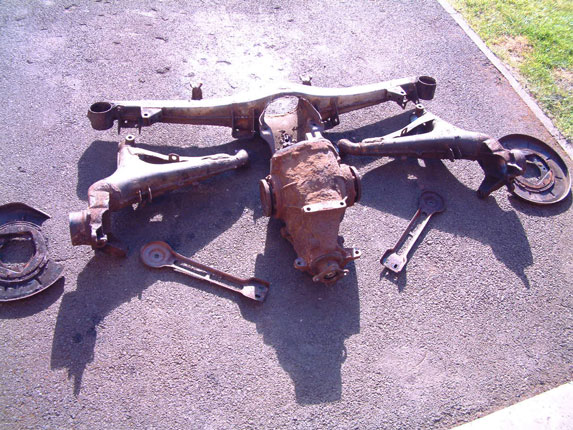
Axle removed |
 |
Stripping the axle on the bench |
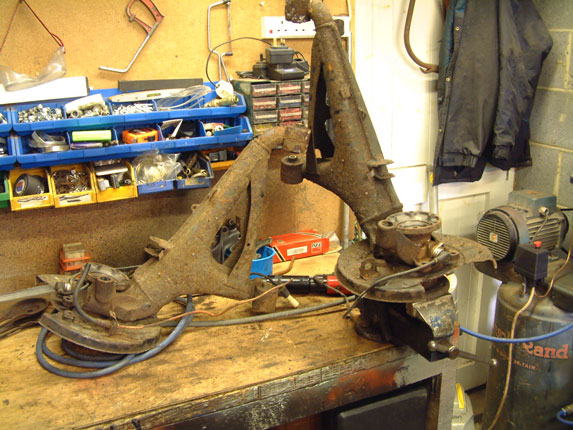 |
Completed Stripped axle ready for the shotblasters |
 |
| August 9th 2008 |
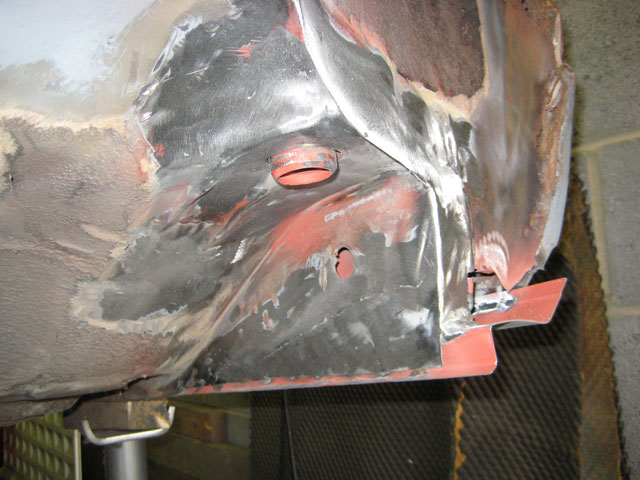
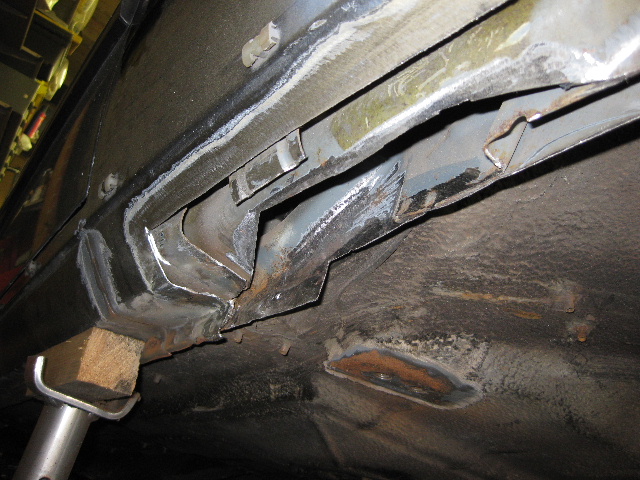
| Can't believe that it has been over a year since we last worked on Neil's car, but finally got stuck back into it this weekend, but stupidly I forgot to take some pictures of the area being worked on until I was halfway through it, |
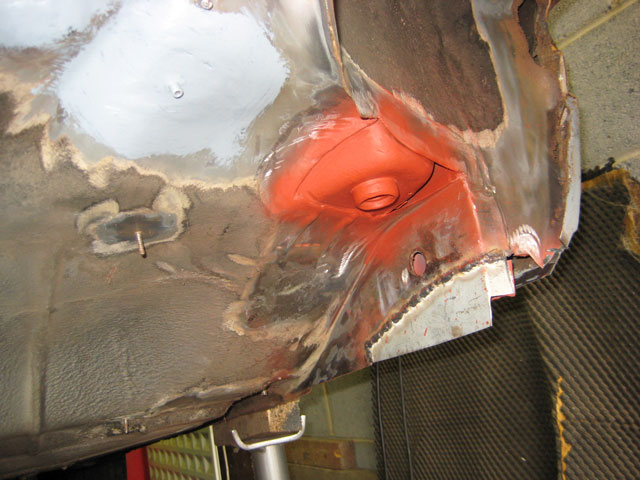
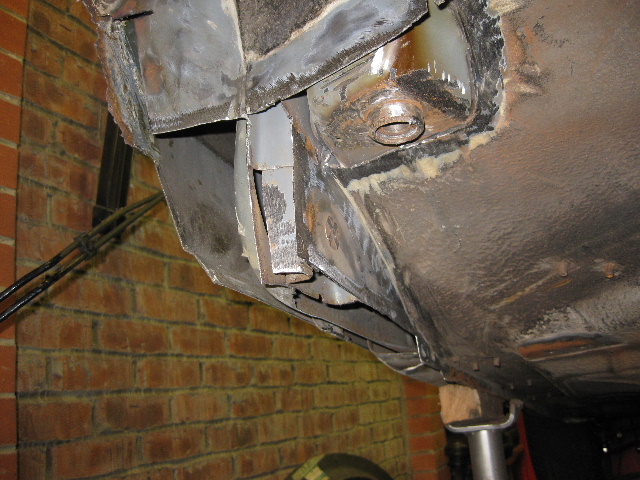
| This is the rear drivers side end of the sill and rear axle mounting point, despite this area looking like it just needed a good wire brush, it turned out to be quite crumbly once we started on it, in this shot I have cut away the rot around the axle mounting bush location and sprayed with weld through primer, I have also started on the first section to the rear of the sill |
 |
This is the view from the sill side, I decided to make the join halfway up the sill, as it will be easier to blend in, I also had to repair the rear jacking point stiffener within the sill |
 |
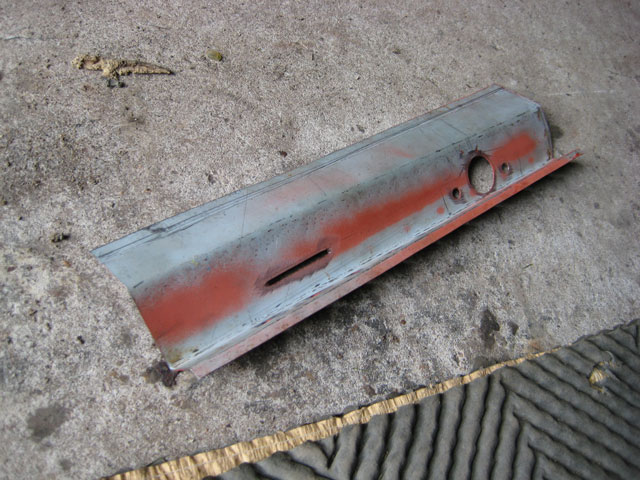
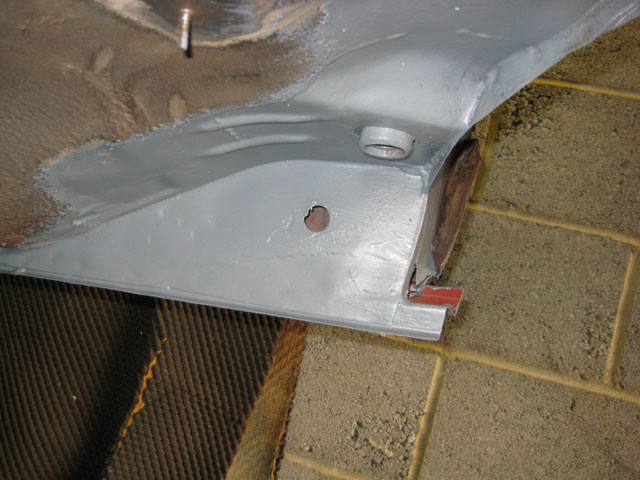
This is the patch panel, knocked up with some sheet steel and a couple of bits of heavy angle in my vice , the large hole is for the jacking point, the 2 smaller holes are to allow the sill to be pooled welded to the internal jacking point stiffener, the slit cut into the left hand side, is where the sill meets another internal section, I will weld through this slit to the inner section for maximum strength |
 |
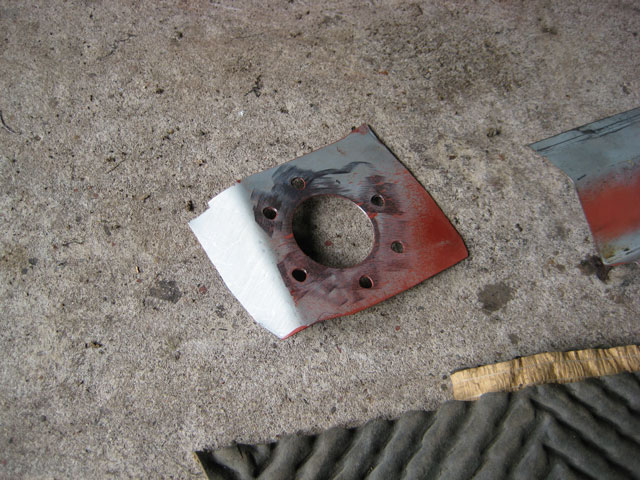
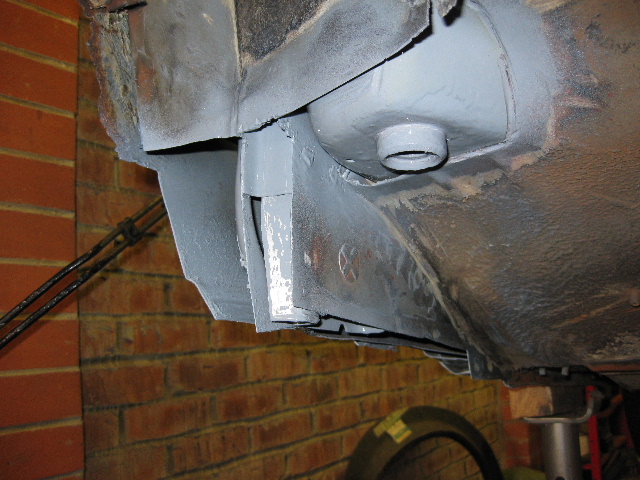
The repair patch for the subframe mounting point, smaller holes are again for pool welding to the metal above |
 |
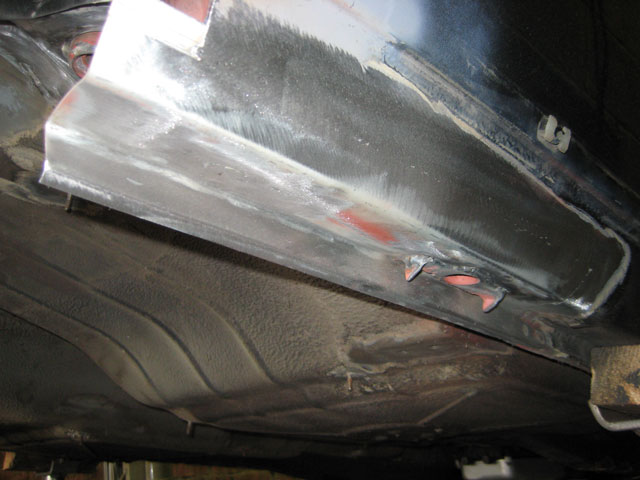
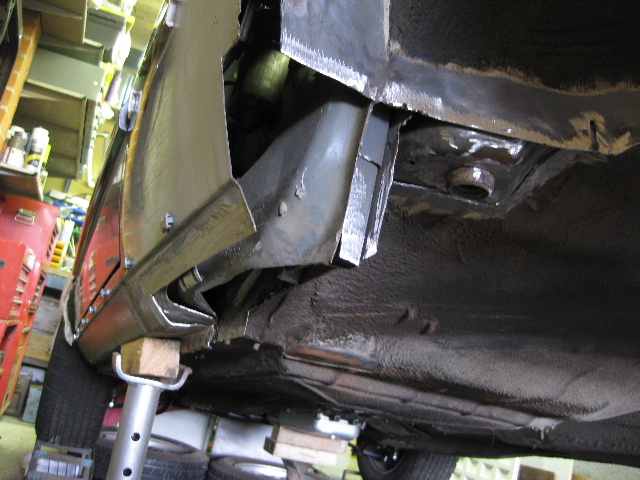
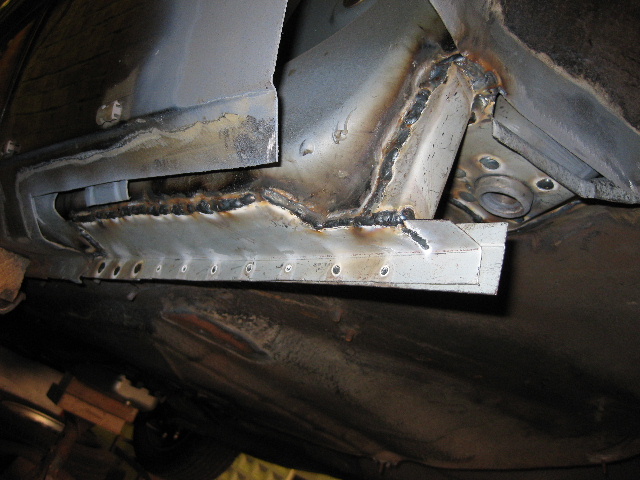
All patches now in place, welded and ground off, I use a 41/2" grinding disc to take the heads of the welds and then a flap discs to finish it off flush. |
 |
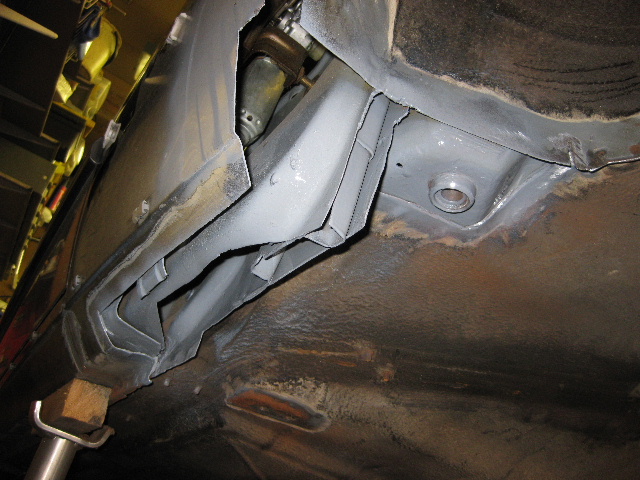
The finished outer sill section with the jacking point removed from the old sill section and welded in place, I have left the sill section purposely long for the time being as this area will need more work when the wheel arches are done, and better to leave it long now, than cut it short and regret it later. |
 |
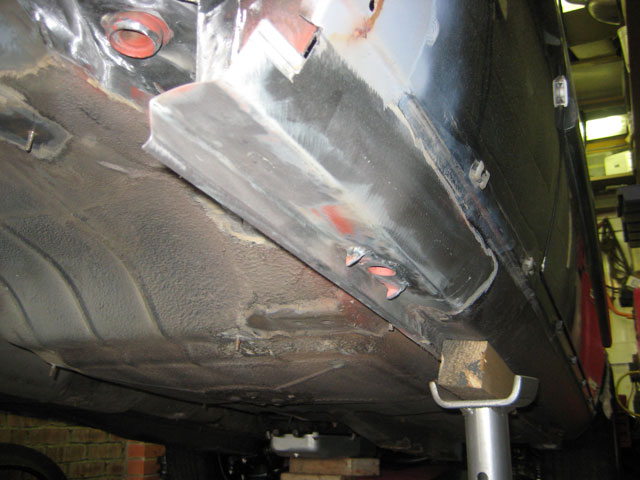 |
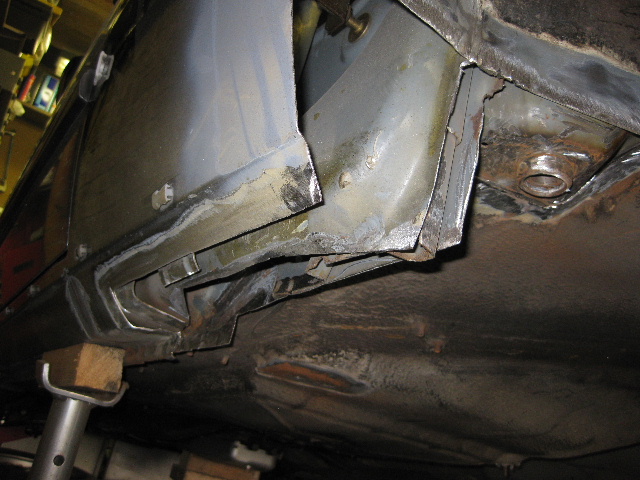
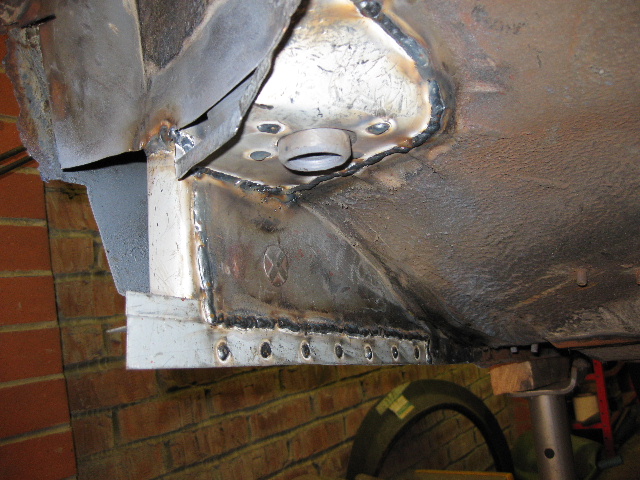
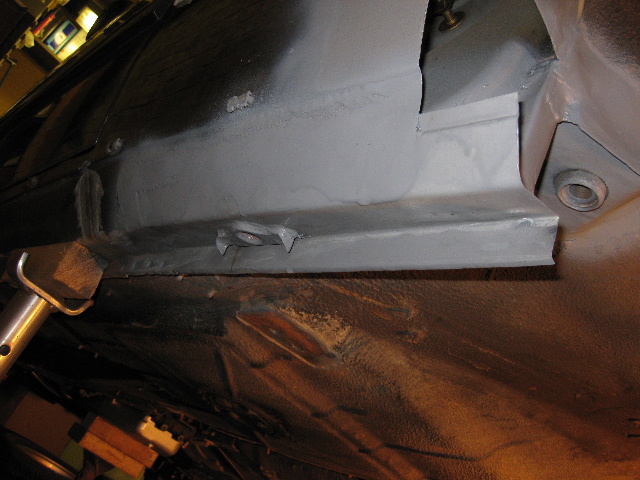
a quick coat of zinc rich primer, to the left you can also see the brake flexi hose mounting points, this had also rotted through behind, so these were cut off, then a plate let in behind them , then rewelded back on, and again painted. |
 |
 |
| Lets hope its not another year before we get on with the other side |
| Feb 21st 2009 |
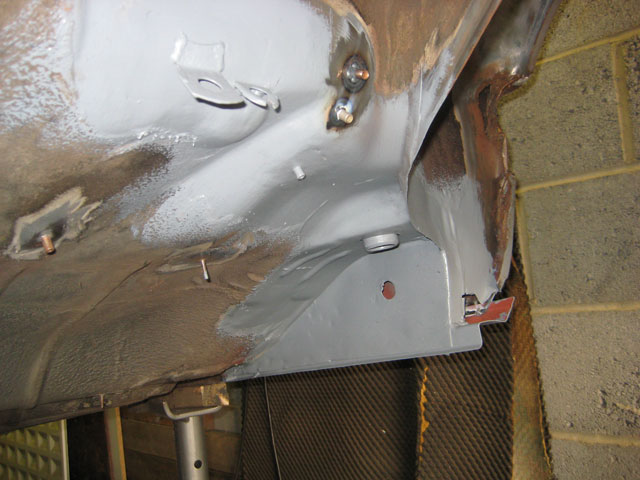
| Got a bit more done on the other side, rear sill and subframe mounting point, it was very similar to the drivers side |
All the rot cut out |
 |
 |
 |
 |
A quick coat of weld through primer |
 |
 |
Then on with the new metalwork |
 |
 |
| Almost there, a bit too heavy with the spray primer, but it will easily rub down, again parts left long at the minute until I can offer the arch repair up and see where we are at |
 |
| Now that new progress is being made we hope to do a bit more next weekend too |
| Page 2 |